I
love the HDR effect, especially for the landscape photos. It creates a very
dramatic look and all the details are shown in the photo. In fact, landscape
photographs are not that easy to be photograph. We always face problems during
the shoot. The most irritating
problems I faced every time when I’m shooting landscape photography, is the
huge exposure contrast between the sky and the ground. There are many ways to
balance out both exposures, such as using filters, exposure blending or using
black cards. But for me, I prefer to use the HDR effect.
So, how I do it? In this post, I will share how I shoot HDR photos. First, we
have to know what HDR is. HDR is the short form of High Dynamic Range. HDR
photos means there is a higher dynamic range between the darkest points to the
lightest point in the photo comparing to the normal photos. Where I'm referring “normal photos”
as single shoot taken from the camera without any presets, a
single exposure photo with a limited contrast range.
Technology
now a days, some cameras have a presets in it to capture a HDR photo in single shoot. But
for me, my camera does not have that function. In order to complete a HDR
shoot, I
have to capture the same scene with different exposure settings and merge them in an editing software.
Let’s
get started!
First,
we have to prepare our equipment. I will need my camera which is the
Nikon D700 with a lens and loaded with battery and memory card. The second thing I
need is the tripod. That’s it! I don’t have to bring extra equipment like the filters.
Professionals landscape photographers uses those filters, and they have varies type
of filters for different situations. The recommend filters, of course is the
LEE filters. For my friends from Malaysia, you can purchase the filters from Liewwk.
So, when I’m on location, I walk around like everyone does, looking for a spot
to shoot. After composition, here comes the trick. First, I use spot metering
and meter the lightest area or the darkest area. Get the correct exposure for
that, and then I take a photo of it.
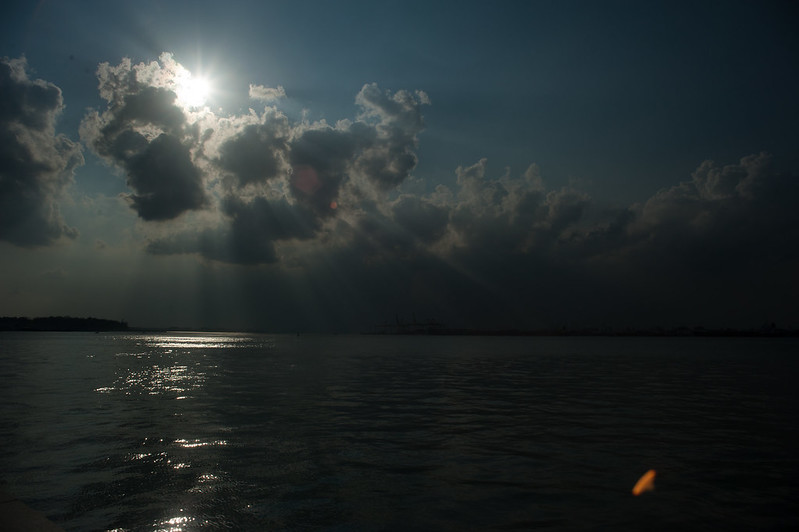
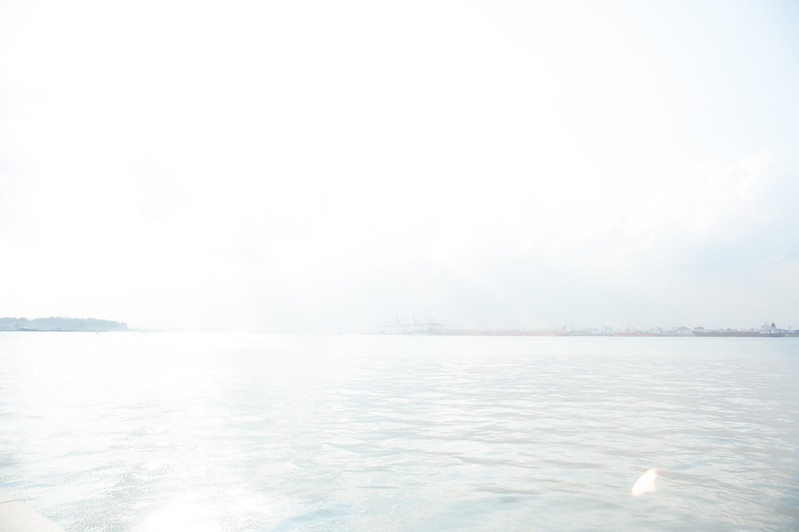
For the example in this post, I meter the clouds which are the area near the sun. Then I
set my exposure. The correct exposure in this post means, the exposure that
gives me what I want. Take a look at the first photo below. The area I’m shooting is
the thin clouds around the sun. I don’t care about anything besides that. I’m
not worrying about the clouds that are thicker are under expose or the foreground are very dark. It doesn't really matter to me. In this first photo, all I want is the thin cloud around the sun
to be seen.
I’m not going to meter the sun, and I don’t mind having an over exposed sun in my photo. There are few reason for that, I will never get the right exposure and see the details in the sun. NEVER! And it is normal to have a sun in a photo without any details in it. It is just too bright to be meter. It damages the sensor. (I feel a bit bad pointing my camera so close to the sun.)
I’m not going to meter the sun, and I don’t mind having an over exposed sun in my photo. There are few reason for that, I will never get the right exposure and see the details in the sun. NEVER! And it is normal to have a sun in a photo without any details in it. It is just too bright to be meter. It damages the sensor. (I feel a bit bad pointing my camera so close to the sun.)
So,
I’m done with the first photo. Then I gradually increase or decrease the
settings by 1 stop. For this case, I’m in high shutter speed and big f number
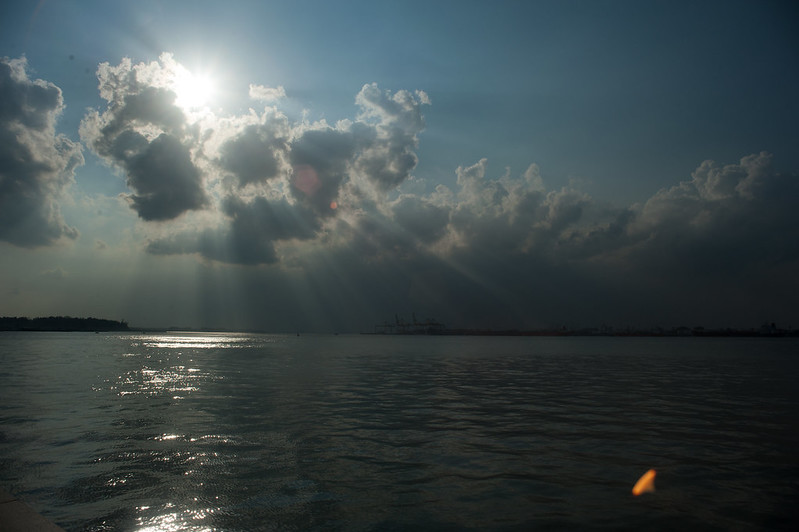
for the aperture in the first shoot. So, I drop my shutter speed by one stop from 1/8000 to 1/4000. Then I take the second shoot. Then I drop again from 1/4000 to 1/2000 for the
third shoot and so on. For this scene, I'm using a manual lens, the vivitar 24mm f2.8 for this shoot.
First photo: ISO 160 : SP 1/8000 : A f16 (to capture the details of the thin clouds)
2nd Photo: First photo: ISO 160 : SP 1/4000 : A f16 (Capturing more details in the sky)
3rd Photo: First photo: ISO 160 : SP 1/2000 : A f16 (Capturing more details in the sky)
4th Photo: First photo: ISO 160 : SP 1/1000 : A f16 (Capturing more details in the sky)
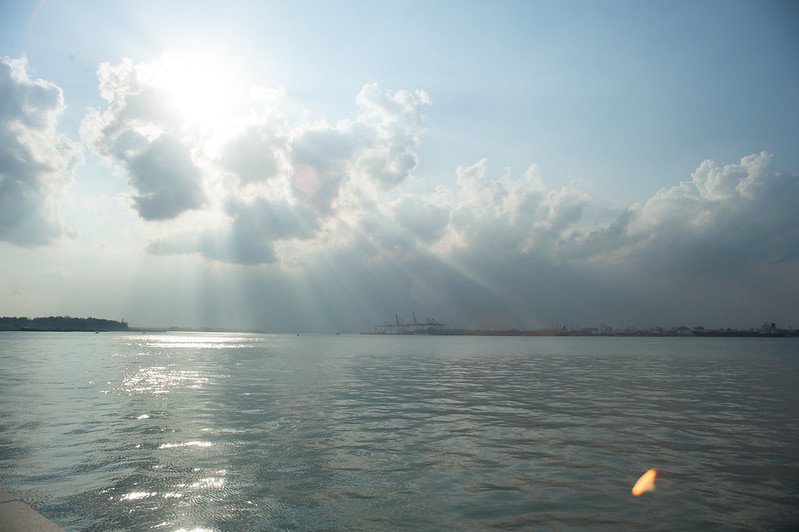
5th Photo: First photo: ISO 160 : SP 1/500 : A f16 (Now we are capturing the mid tones.)
6th Photo: First photo: ISO 160 : SP 1/250 : A f16 (More details on the sea and the land at the horizon)
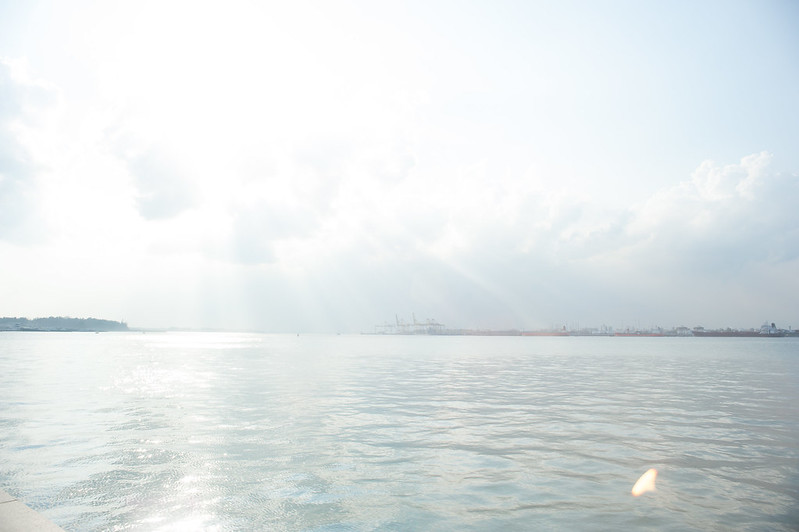
7th Photo: First photo: ISO 160 : SP 1/125 : A f16 (Capturing the details at the dark area. The sea at the bottom right and the land at the horizon)
8th Photo: First photo: ISO 160 : SP 1/60 : A f16 (Clearing all the dark area. Show some details on it. It doesnt matter where all other area are over expose, because what I want from this picture is just the two pieces of land at the horizon to be seen)
It doesn't really matter if you control the shutter speed or the aperture first to
change the exposure settings. As long as is one stop different, and that is my
goal. For depth of field issue, I have no concern about it as my focal point is
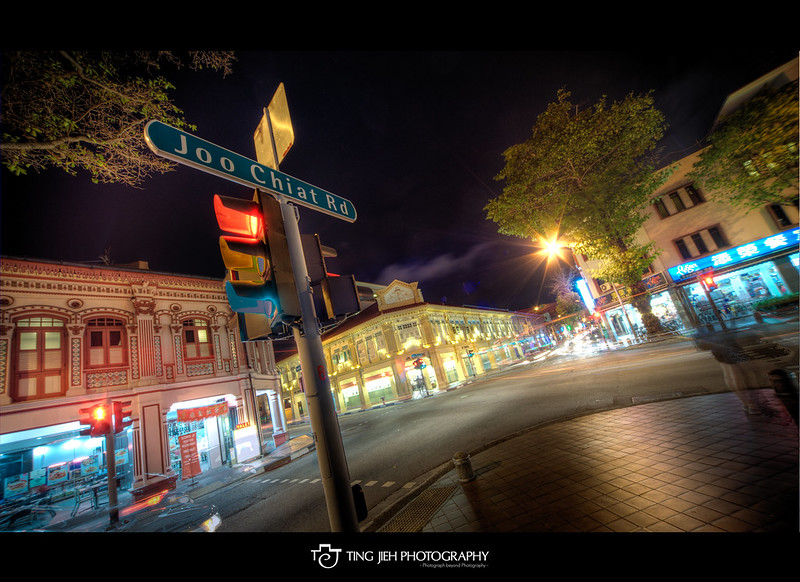
at infinity. The photos shown below, the Joo Chiat series (the HDR photos at night) I change the exposure settings by both aperture and shutter speed. It depends on situation where you need to adjust it by shutter speed or aperture. As long as you get the consistent exposure difference in every shoot. Then the photo should be fine.
Beside
the exposure settings, I use a two second timer to fire the shutter. Just to
prevent as much shake as possible. Yeap, I do touch my camera when I’m changing
the exposure settings, but small little shake can be fix in the post processing later.
In some camera, you may have a function call “bracketing”. You can use that too!
Just set the number of shots that you need and set one stop different for each
photos, and that’s it. Just keep pressing the shutter and the camera will
do the settings for you.
Let’s
get back to the example. I got 8 photos with different exposure in my memory
card. Now all I have to do is to merge all of them in post processing. In post
processing, there are many software you can use to merge all photos to a HDR
photo. I’m using Photomatix for most of my HDR photos. Sometimes I use
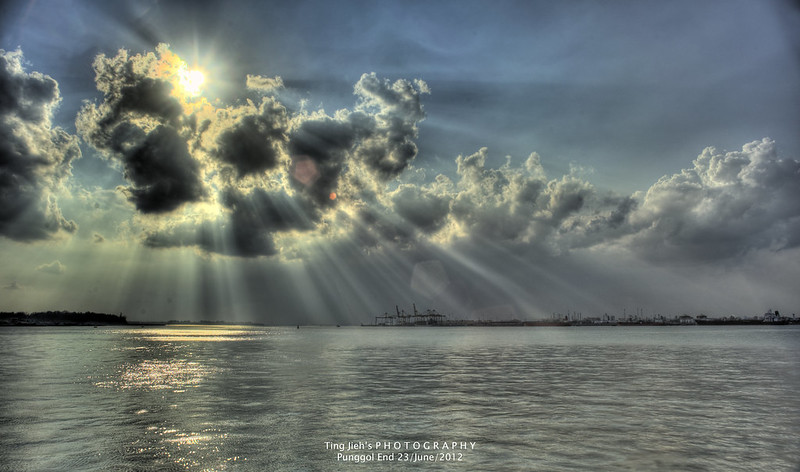
Photoshop. The final touch is to crop it, and clear out the dust. As you can see there are a lot of dust in the photo. There is even a lens flare in it. So I clear all these problems in Photoshop.
All
you have to do is just click the “Merge HDR Photo” button, and then select all
eight photos in one time and click OK. It will merge all photos you selected
into a HDR photo. Play with the settings until you get the effect you like. Then
save it and share it!
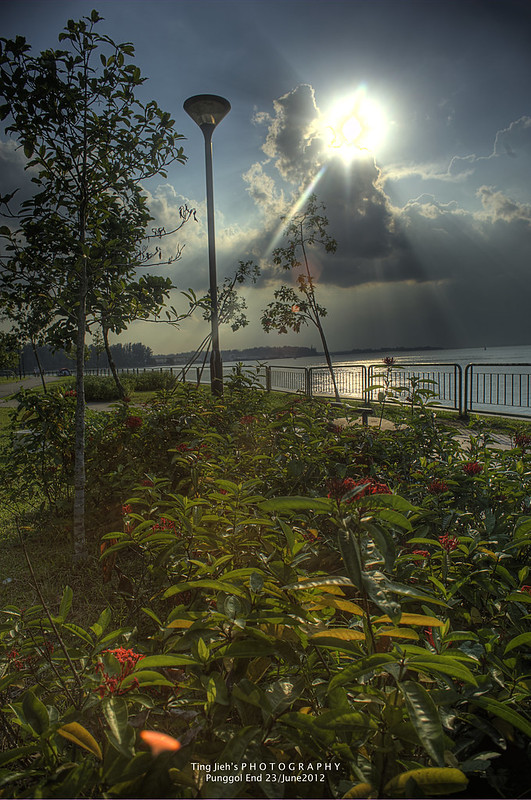
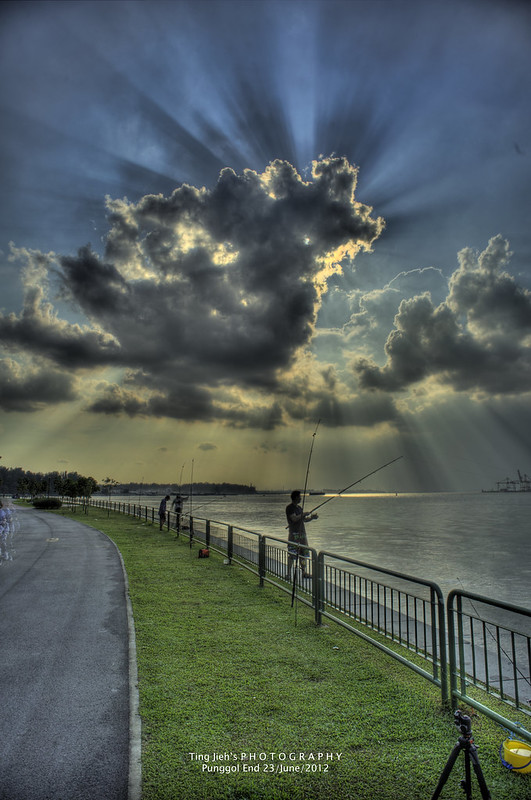
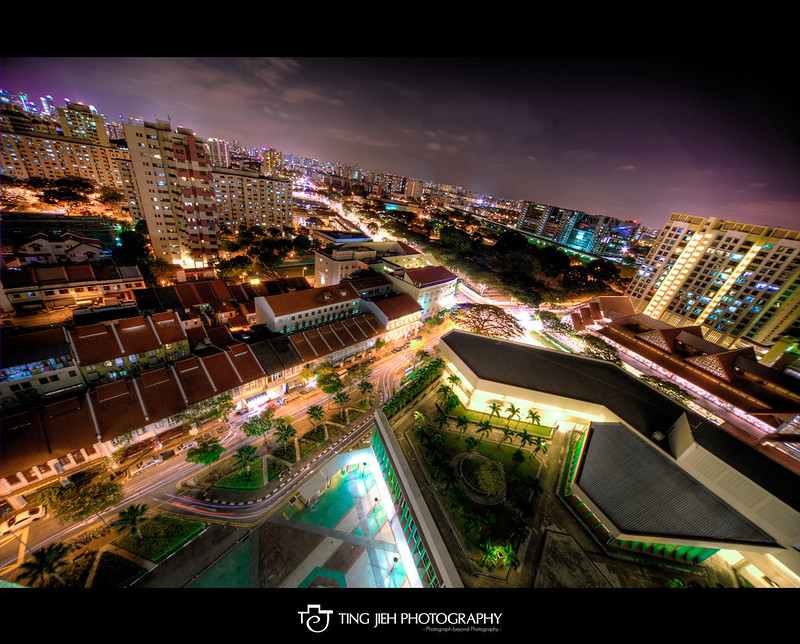
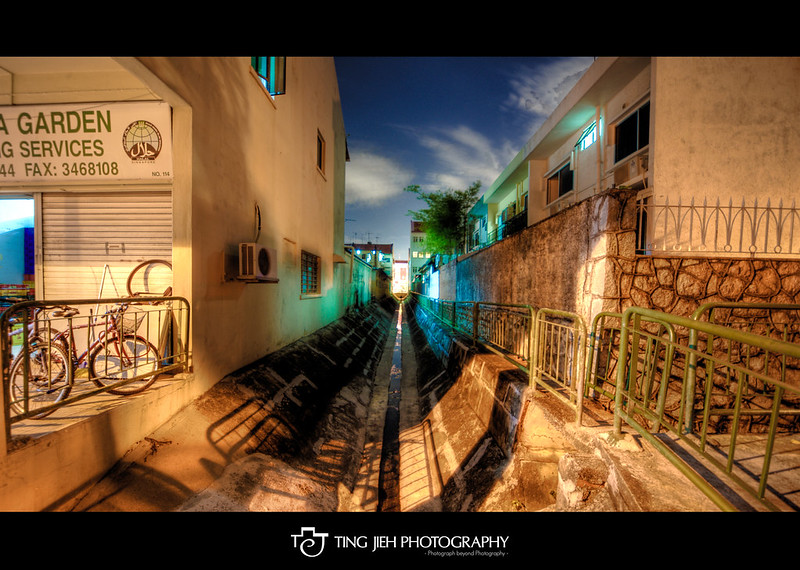
Here is the final result and some of my work.
Here is the final result and some of my work.
So, I hope you guys now can create your own HDR photos. Do share your HDR photos!
Cheers.
TJ @ Ting Jieh Photograph
Cheers.
TJ @ Ting Jieh Photograph



Nice Blog, I like this kind of Blog. Thanks for admin who creat this site. A fun, new social website where you can post pictures,videos and compete to see whose is the best. Come see what we're about Like this page
ReplyDeletephoto sharing