Thursday, 24 March 2011

First DIY Product Shooting!!

Finally I got my chance to play with my new toys as I had posted previously. I made two stupid mistakes, did not plan on how to set things up and did not bring my external flash. So I ended up spending more than half and hour to do the set up and make a instant bouncer for my pop up flash.

As you can see from the image below, this is the setup for my product photography shooting.
***Hopefully you can see the words in the picture***


I use a box as the backdrop support and a few pieces of A3 papers as backdrop. So it is does not show any transparentness.Then 2 main lights with diffuser at the side. At first, I thought of shooting with only 2 main lights and that is just not working. Without any choice, I had to use my pop up flash to add in more lights from the top. So I cut down the diffuser, and put an A3 paper on top as a reflector. As shown in the picture. 

In order to avoid direct flash, I instantly make a bouncer for it. So the light can bounce to the A3 reflector and flash on top of the product. It do helps!! A LOT!!!! Here is another two pictures showing the left and right side of the set up and another one when I turn on the main lights with the room lights off.


I started to shot with my prime lens, 50mm f1.8 which I can't really handle it for this shooting. So I change back to my kit lens 18-55mm which has a the shortest minimum focus distance, 0.18m among all my lenses.  Where I can place my camera real close to the object.

I tried to shoot at f8, where more people recommend to use. But I feel that f14 gives a sharper image when I zoom into the picture from my camera. Perhaps I should have shoot in both aperture and view it in PC. Never mind, I'll compare it again on the next shooting.

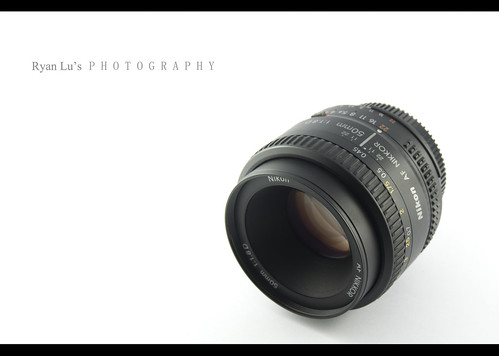
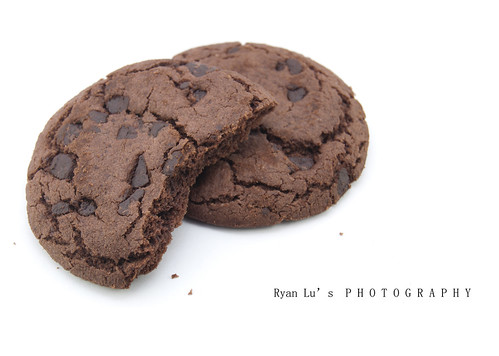
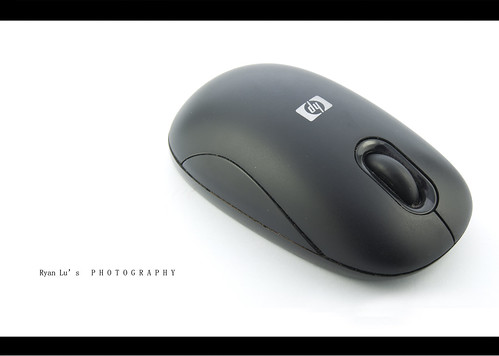
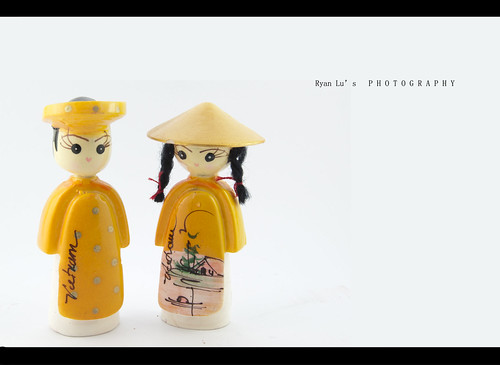
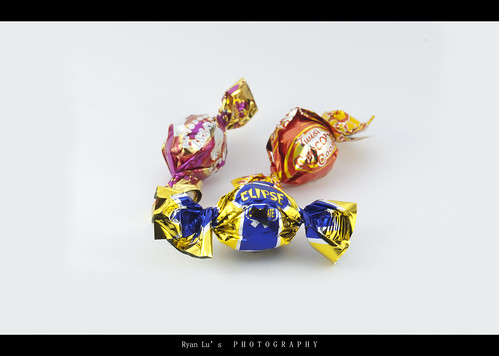
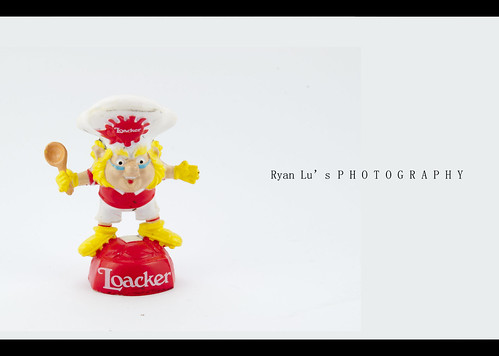
Finally, I set my camera to settings to ISO 100, f14, shutter speed at 1/6sec with pop up flash. And these are the results I've got! Not perfect , but I feel satisfy for my first product shooting. No serious image editing, only cropping, adding text and white balance to 5500k.

50mm f1.8


chips more


mouse


doll


sweet


cheif


Will try different items in the future. Perhaps something much bigger or something that reflects light, such as glasses. Anyway, feel free to comments.

Cheers!

Lu Ting Jieh

Sunday, 20 March 2011

New Toys for product photography

Recently I get attracted to product photography and DIY photography equipments. Combining these two interests it become DIY product photography.

You can find a lot of video or articles from internet. There are DIY photography websites such as : http://www.diyphotography.net/ or http://news.deviantart.com/article/55003/ . Of course there are more website sharing their ideas and concepts. Beside that, people who upload their video on youtube do help a lot and it inspire me.

During this weekend, I get myself shopping around to see what I can get for my product photography accessories.


2 light bulbs - 5500k temperature color.
2 clips or light bulb holder.
2 sets of cables
2 Pringles
1 cotton made oil filter net

The light bulbs is a bit expensive for a DIY mission, but I got no choice. I can only find this temperature color from one shop. According to my research, 5500k temperature color will be the best for photography.

I had change the original socket and cables from the clips. It just looks bad and I don't dare to use it. The cable they used is just too thin and the plug don't really fit in. So I changed it with new cables and socket where I bought it separately from another hardware shop. And the Pringles will become the snoot and/or reflector. Finally, the oil filter net will become the diffuser. Hopefully it will give good result.

Well, I got everything done but not starting to shoot yet, because my house don't have a good place for me to set up everything. There are just too many housemate and I will not have any chance to have a dark room. So , I planned to bring everything over my office and do the shooting after office hour.

Cant wait to test all the equipment!!! Hopefully it brings good results.


Lu Ting Jieh

Saturday, 19 March 2011

Project Photo-sharing-graphy on the move!!!!

During my university time in Multimedia University, my friend Justine Goh bought a DLSR. As we hanging out to trips or any outings, we took a lot of photos and I like them very much. Time passes by, I bough my very first camera, Nikon D40x as my very own 21st birthday present. I start shooting and learning photography. Very soon, it become my very top ranked, #1 hobby.

After my graduation, I'm now having my career in Singapore. Time become more more valuable since ever after. I don't have as much personal time as I have during University time. Yet I'm still shooting and learning. So I intended to blog everything I've learn for photography, as a record for myself as well as sharing out all my ideas, knowledge and experiences. Although is not a professional level, but I can have a view of me improving or staying at the same level in the future.

Hopefully I'll learn more and my photography life will become more interesting after I sharing it out. Looking forward for comments, suggestion and advise from all of you all.

Feel free to join me~ =]

Lu Ting Jieh

Great Egret in da A.I.R. !!