Wednesday, 30 November 2011

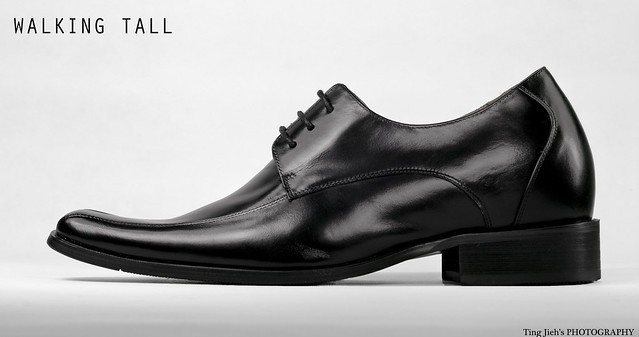
Walking Tall - My new shoe!

As time passes by, things get older and older. This is the same theory applied to my formal shoes, after serving me for more than 3 years, it time has come. I still like that shoe, but I got no choice. I have to buy a new pair of shoe, else I'll be wearing a spoiled shoes to work.

In the same time, Andrew Chow, a friend of mine introduces me this brand, Walking Tall. Not just a normal leather shoes, but a "high-heal" leather shoes for men!! Without any doubt, I told myself:"I must try this one!"

So I went to their shop at Raffles Place, you can find their details in their FACEBOOK page.

I bought a black one with the shoe lace, and of course it comes along with an additional 1.5 inches height for me! Fantastic, now I'm taller with my new shoes!

Before I wear it to work, I spend a weekend to shoot my new shoe. Here are the photos I got for them. Enjoy!


Side view

A side view of my new shoe. Three exposures in this shoe, can you see it?

Front and Back

45 Degree 

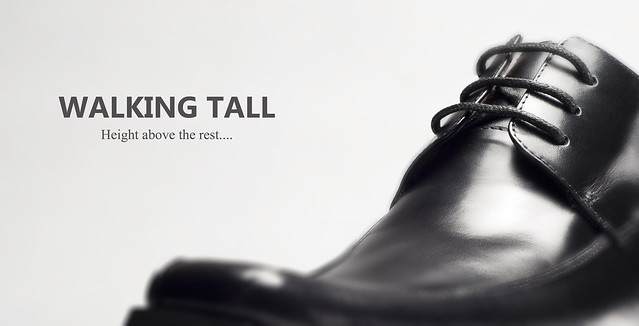
Walking Tall - Getting close

A close-up front view. Looks tall, doesn't it?

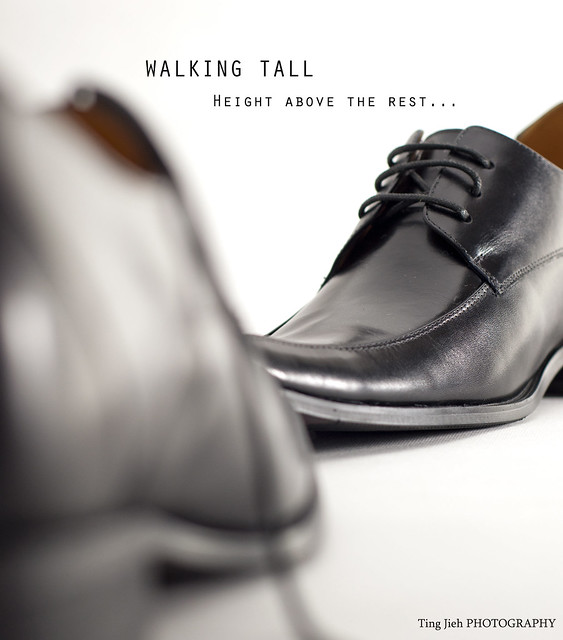
Walking tall - Bokehness

Mixing up, and bokeh-ing the back one.

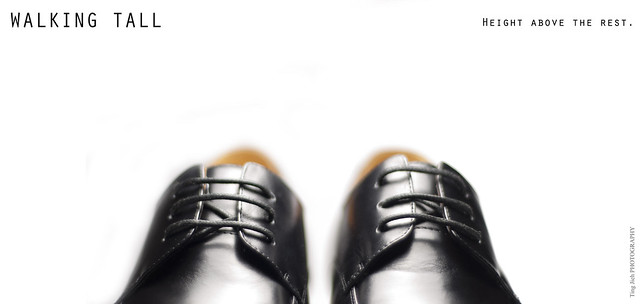
Walking tall

Another close up from front, but this time, I shoot both shoes. I love the shoe lace!

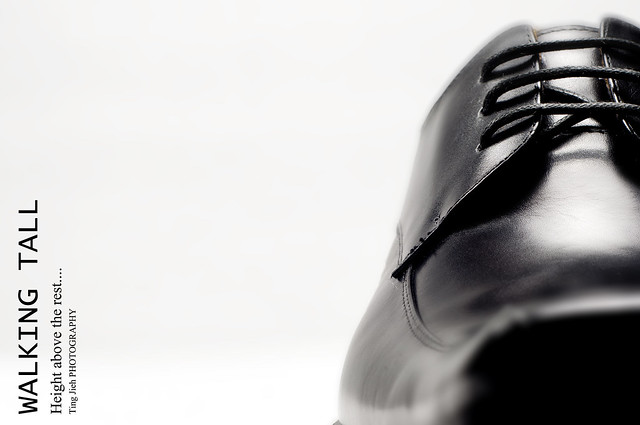
Walking Tall - Close Up

One more close up, bokeh-ing the shoe tips, and focused on the shoe lace. Hmm.. Looks like I like to place the object on the right....have to avoid this next time.

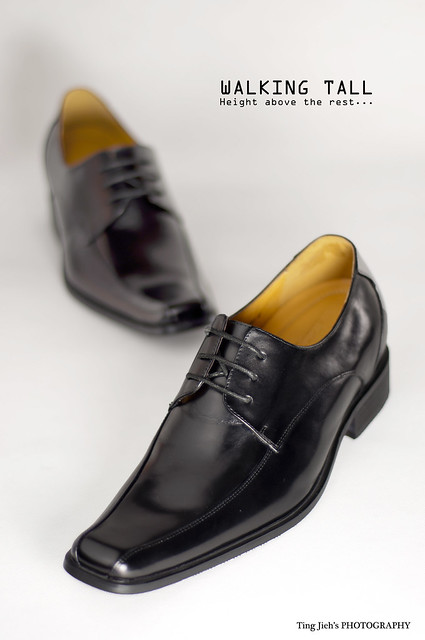
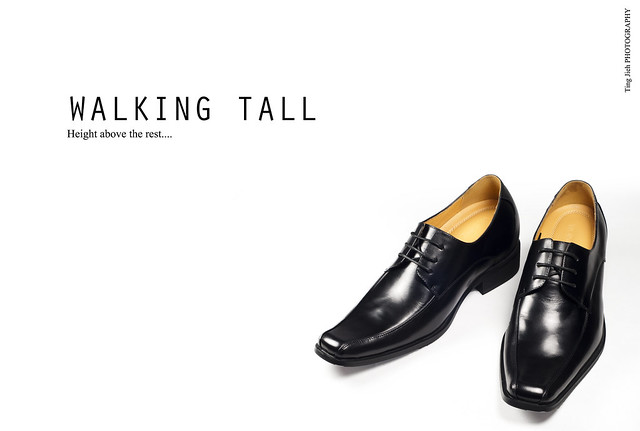
Poster Style

And finally, my favorite photo among all above. I just love this photo! On the other hand, although this is a "High-heal" for men, I still feel it is comfortable to wear.

Now, I'm taller and more confidence than before.

Special thanks to Andrew Chow and Walking Tall.

Cheers,
Lu Ting Jieh


Sunday, 13 November 2011

Gatsby - Style as you like~

Rain, rain, rain, come again and again, non-stop raining during this weekend. Ended up I hide myself in my room and take a couple of products shooting.

This post I would like to share a few photos that I took with my roommate's Gastby. XD

Actually I spent two days to shoot these two photos. On the Saturday, I shot the Gatsby's Super Hard Styling Foam (silver colour) and I shoot the Gatsby's Long Keep Wax Spray (black colour) on Sunday.

Gatsby Alone
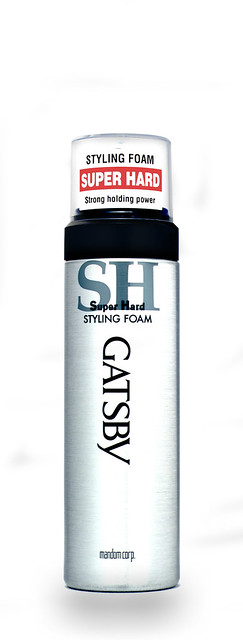
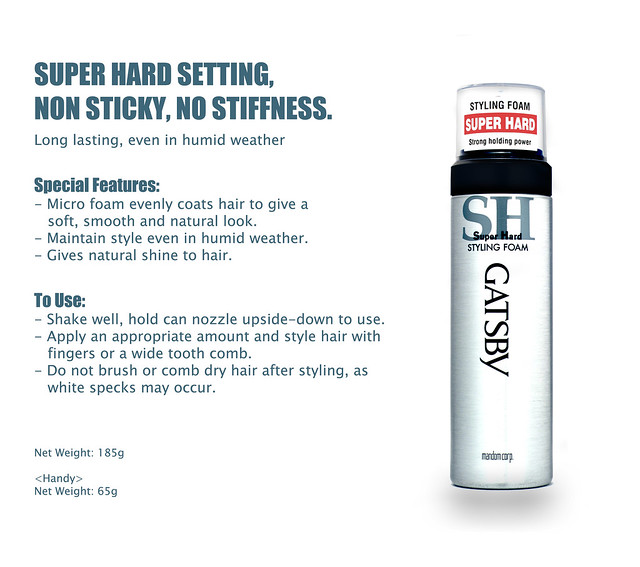
Gatsby - Super Hard Styling Foam

Gastby - Wax
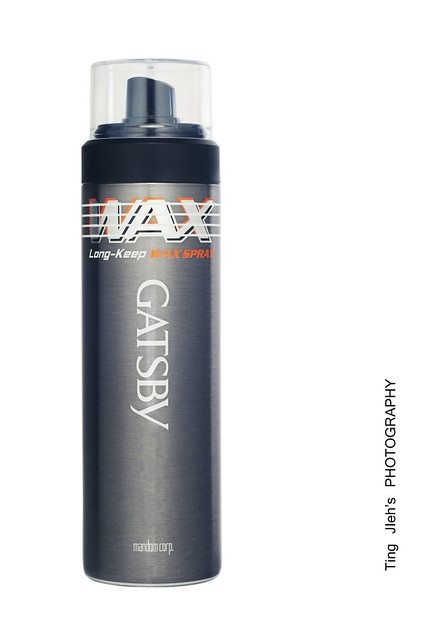
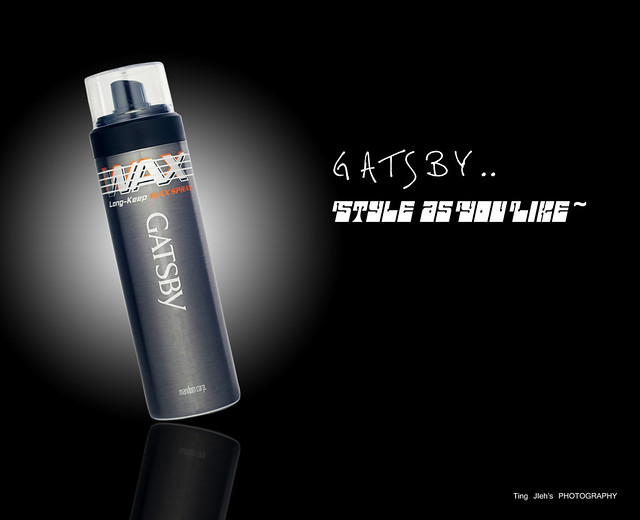
Gatsby - Long Keep Wax Spray


Regarding to the Super Hard Styling Foam, it is in silver colour, cylindrical shape and very reflective. Not an easy task for me. I used two light sources, left and right each. In between, I used a white cardboard reflector to cover the darker spot on each side. 

Regarding to the Wax Spray, although it is darker in colour, but it is also very reflective. For this object, I change the direction of the source light; I use only single light on top of the object, and three white cardboard reflector. Two reflectors on the left and one on the right.

Spent two days for two photos, that is kinda lame. I got no choice, I'm still in the learning progress. In the same time, I tried to do some editing on the photo. Nothing much, just adding some font on it. Hope you guys like it.

Gatsby - Super Hard Setting


Gastby - Style as you like~


Shot all these photos with my D90 and 50mm f1.8. Attached with an CPL filter. Mounted on tripod, settings around ISO 100, F11 at shutter speed 1/10.

Feel free to give any comments or critics.

Cheers,
Lu Ting Jieh

Tuesday, 8 November 2011

Vodka Series


Is been some time I didn't touch my blog, busy for a Convocation Photoshoot, my current job and of course my long wait Mini Studio! RAWR!!! Now I'm back with my mini studio!!

Although it is not fully equip yet, but is good enough to start some small product shooting. Slowly I'll add in more things in future. Here is a photo of all the things that I used to make my own lamp. Yeap, that it is! A light bulb with a aluminium


In this post, I will show you my shots for a bottle of Vodka. Basically this is my setup as shown below. Object in the middle, and two lights at the side. As you can see, the light is diffused with the cotton made oil filter. I kinda like this diffuser, it perform his job by diffusing light, it can hold high temperature and of course it is cheap, $1.50 for a pack, it comes with two pieces in it.


Here, you can see the white backdrop. It is actually a wooden stick on two "stand" that is normally used to hang clothes. Instead of hanging cloths on the stick, I clipped my mahjong paper on it. I used 3 pieces to make sure it looks solid enough. Else you will be able to see through it when the lights are on.

I have my camera mounted on a tripod and a 50mm f1.8 on it. I shoot at ISO 100, Aperture at f11 and shutter speed around 1/30. To make sure the lights does not affect the shoot, I took a pre-shot without any lighting except the natural lights. If the picture is absolutely black in colour, I assume it as the natural light does not affect my photo. Regarding to the white balance, it is pre-adjust before the shoot, with the lights on.

In between the shooting progress, I used two different colour of card board, which is black and white as reflector. Black reflector for white background and white reflector for black background. Here are the results.

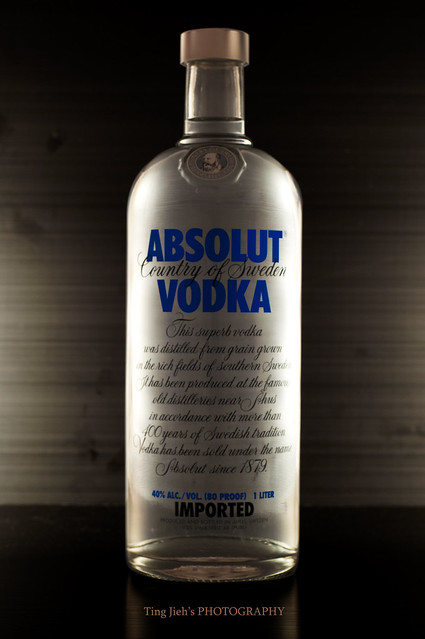
brown vodka

For this photo, the black background is not dark enough, that is why it turns a bit brownish. In the future, I will need a 100% black backdrop and a 100% dark room to make a black background shoot.

Absolut Vodka

White background and white object, give a very clean and simple feeling. I feel that it has a classier look than other colour combination. There is a mistake I did in this photo, too dark on the bottle cap and the old man logo. And the reflection is not that nice. I need a better reflective card in the future. The wordings, I just copy from the web. Woops....

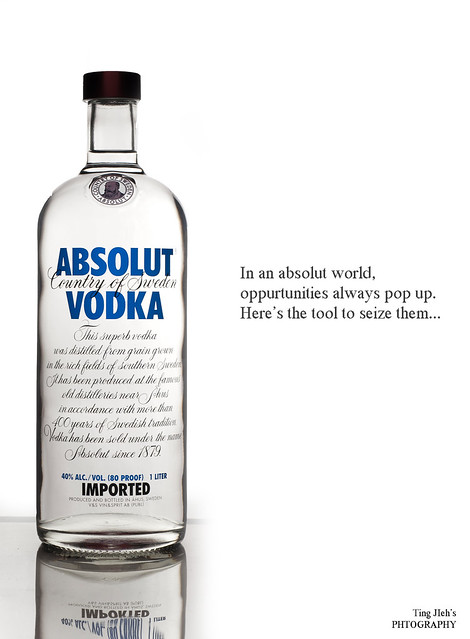
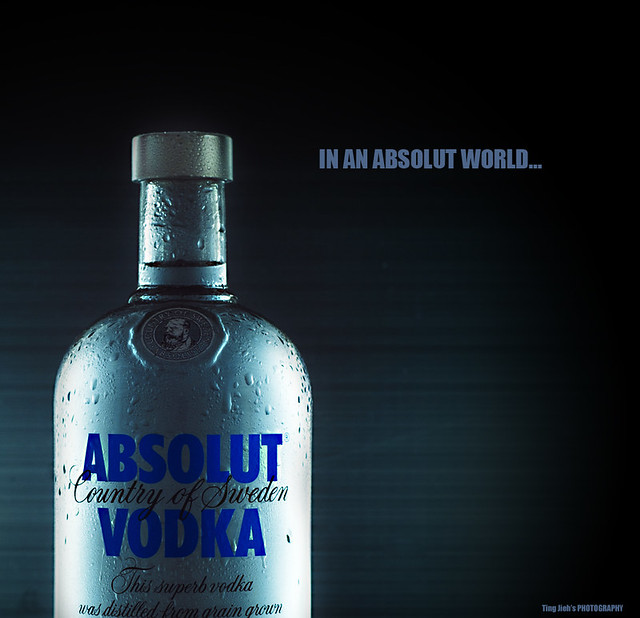
In an absolut world


Adjust to a much cooler temperature white balance gives a very icy feeling. I spray some water on it. So it looks icy cold. As it just came out from the fridge.

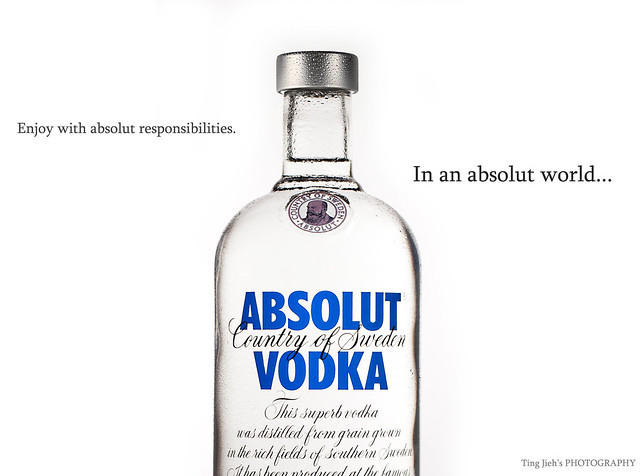
Enjoy with absolut responsibilities


Placing the object in the center of the frame, create a stronger impact towards the object. It leads the viewer's sight directly to the object then only to the text around it. Meanwhile, there are actually two exposures in this shot. One is the bottle, and the other one is the bottle cap. Then I merge them in post processing.

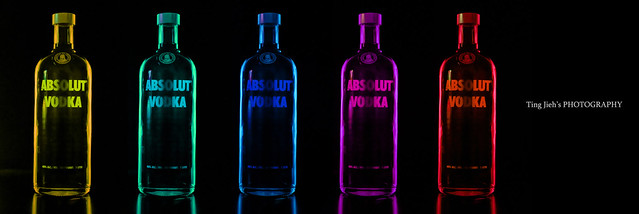
Vodka 5 in 1


Thinking out of the box, I copy five bottles of Vodka into one single frame instead of only one bottle of Vodka. Then I fill in different colour for each of them. This give you a total different feelings than the previous photos. I feel a bit old school in this photo. You can go to my flickr for a larger view.

I hope you guys like these photos. If you have any suggestion or comments, feel free to post it here. C & C are all welcome. Your feedback is most welcome.

Cheers,
Lu Ting Jieh

Wednesday, 24 August 2011

Chili oh chili~

Last week, I bought myself some Mee Goreng for dinner in the Ramadan Night Market. One thing I felt weird for that, they gave me four raw green chili to eat along with the Mee Goreng. Hmm... I'm not sure how am I going to eat that, and I don't really like to eat chili. So I keep it for my next photography practice.

This post, I will be sharing the photos I took with the free chili that I got them from Ramadan. I shoot these photos around 12-1pm on the weekend. Strong sunlight shining down directly from the sky. Without any question, I used my Mahjong paper as a diffuser, making the sunlight softer before it hits on my object.

Grabbing my D90 with my 50mm f1.8 lens on it. I took a shoot directly above my set. No reflector, flash and tripod involved for all the shoots. After a couple of test shot, I decided to add some props and a cut on of the chili with a knife, splitting it into half. Then I have the smallest size chili cut into small pieces. This makes the photo more interesting than before.

**Phail Arrangement** Sengek...

With my 50mm f1.8, I can't do much with it. So I added in my macro extension tube, trying to get some close up photos of the chili. With the macro extension tube, things became more fun. I took a few shoots hand held and that is it. End of today shooting. The weather is so hot, that I can't stand to make any more shoots.


This is how a chili looks like when you slice it into half.


Old Chili


The seeds inside a chili~


Chili oh chili~


One thing I realized through this shooting, actually this macro extension tube is not that bad. It may not be as sharp as the macro lens. But it still allows you to get pretty close to the object. With proper lighting control, I believe it can get some sharp photo as well. I will try to shoot with the macro extension tube along with artificial lighting setup. Hope fully I can get some good macro photos.

Although the chili looks a little bit OLD, this is because I didn't keep it in the fridge. But do leave a comment on the photos if you feel so. C and C are all welcome.

Cheers,
Lu Ting Jieh

Monday, 15 August 2011

When Potatoes Meet a Cloudy Day~

Last Saturday, I woke up and saw the potatoes that I bought a week ago. I am supposed to use it for my second fake ice-cream shoot. Somehow I ate some of those and left only four mini size potatoes. This is not enough for me to make a few scoop of "Ice-cream". So I came out with an idea, why not I just shoot these potatoes?

With joy and excitement, I quickly setup my equipment. I have my old formal shirt, a spoon and a plate as the probs. A mahjong paper as a diffuser. With no doubt, the hero will be the potatoes. It is a hot and sunny day, I'm sweating like mad after I setup along with a couple of test shoot. But that is not going to stop me, I continue working on the potatoes in the kitchen.

When I'm half way done, the sky became cloudy suddenly. I felt so disappointed but I can't do anything with it. I have to remove the mahjong paper as it is too thick to be a diffuser under such condition and I do not have a good reflector to reflect the lights. So I shoot this series without any diffuser or reflector. I used only my D90 and my 50mm f1.8.

These are the photos I manage to capture for this series.

My tools


As you can see from this photo, I have my tweezers along to style a little bit of the meshed potatoes. And I had a small tiny piece of cheese on it. Just to make it looks better.

Bokeh again!


I play around with the depth of field. As you can see, I'm trying to bokeh away the foreground and let my hero become outstanding in this photo. Below is a photo that I shoot it with f8. The depth of field increased, everything on the "table" is sharp and only the background is being bokeh-ed. This give a different kind of feeling, more like tea time feeling.

f8, not a good choice


Anyway, I still prefer the shoot with a lower depth of field. Here is another shot with a low depth of field.

Bokeh the potatoes!


After playing around with different angles and different way of placing the hero and probs. This is the photo that I love the most.

meshed potatoes!


The rain started to rain around half an hour later. I packed my things, and get myself some rest.

After shooting everything, then only I realize the colour combination is not that good. The piece of cheese does not enhance much. I should have add some green around the hero. Perhaps some herbs.

Cloudy day give a natural softlight, sometimes you don't need a diffuser in a cloudy day. But you may need a huge reflector in order to clear the shadows. For my case, I need to DIY myself a larger reflector soon, A4 and A3 papers are not enough.

If you guys have any ideas to take good shots in a cloudy day, do share it out. C & C are all welcome.

Cheers,

Lu Ting Jieh


Tuesday, 9 August 2011

Second attempt for Fireworks shooting

There are many events in Singapore have fireworks, such as Chinese New Year, National day, New Year, Chingay etc etc. My very first experience in shooting  fireworks is during the Chinese New Year 2011. I've tried several shoots with my 18-55mm kit lens, but all the photos are over exposed or composed wrongly.

This time, I had a second chance for fireworks shooting which is the National day of Singapore. Actually, there are fireworks before the actual National Day. They will have fireworks rehearsal  every weekend for the pass few weeks. I don't know why I choose the actual day to shoot for the fireworks. It is so crowded and I can hardly find a spot to shoot. Luckily I came along with some friends, and they had pre-booked a slot opposite MBS.

We reached there around 4:30pm, hanging around for a few hours just for the fireworks which start at 8:15pm. Gosh, it is very tired to stand in a crowd for few hours but it is worth waiting for it. The fireworks are very nice, but to get a good photo of it, it all depends on your skills and experience.

With my current knowledge and equipment I have, it is still not good enough to produce a good fireworks photo. Here are some of my photos I took just now.

Camera: D90
Lens: Vivitar 24mm f2.8 (after 1.5 crop, around 36mm, I use this lens because I'm still in my own 35mm training. Getting myself to see things in 35mm)
Shutter Speed: 6 seconds & 4 seconds
Aperture: f11
ISO: 100

Yucks.. don't know how to comment this.

Fireworks in the smokes

Colorful Fireworks

Close up fireworks only

I wonder why everything is so purplish

There are a lot of ideas like "how to shoot a fireworks" or many people will "TEACH" you how to shoot fireworks. Learning it theoretically is very different from producing a good result yourself. This is the second time I shoot for fireworks, with all the knowledge I've read online and applying advise from many people. I'm  not getting what I want and still not satisfying with the photos. I guess the best way to capture a good photo, is to get yourself hands on, experience it and learn from it.

Basically this is what I learn/hear from other people:

1) Get a good spot where you can frame the fireworks and some interesting foreground or background.
2) Set to f8-11, ISO 100, shutter speed at 10 secs (luckily I shoot at 6 seconds, people teach me to use bulb and shoot more than 10secs. I wonder how they do it.)
3) Cover your lens with a black/white card while the fireworks is shooting up and remove the card while the fireworks burst. (I don't have a black/white card, I used my cushion/divider of my camera bag)
4) Then repeat the steps until the fireworks end.

It sounds simple, but when I look at the results. I know I still got a long way to go. And there are much much more details that you have to take care of it during the shoot.
With this camera set up in such a crowded condition, it is very hard to compose what you want. The fireworks just blast out everywhere, the area it cover is so huge, that I'm definitely unable to capture everything in one frame with my lens. After today's experience, there are a few things that I must improve for the next fireworks shooting.

1) Go early, get a good spot for composition.
2) Get a wider lens (Gonna spend money again, aiks) or get a better spot where it suits your lens.
3) Shoot in a shorter shutter, perhaps 2 seconds or
4) Shoot in the 6-8 seconds but really make use of the black card. Some sort of capture first two seconds, then cover for 2 seconds, then open for another 2 seconds.
5) Get some food and drinks along. It is not a good feeling standing there for a few hours with not food/drinks.

If you have any suggestion or ideas, feel free to voice it out loud. I still need to learn from all of you.

Cheers,

Lu Ting Jieh
Monday, 1 August 2011

Ice-Cream Photography?

In my mind, I always wanted to make some photographs of Ice-creams. By just dreaming it, it is useless, action must take part in it ! If I do not take the first attempt, I will never learn how to shoot an Ice-cream. In this post, I will share some photos that I took during the weekend.

As a novice photographer, I need more time on styling and composing. If I use real Ice-cream, I will be wasting tons of money Ice-cream as it will melt very fast. I do not have confident to style it and shoot it in time.  In order reduce the cost, I replace with the "ice-cream" that will never melts: MESHED POTATOES! I learn this from reading books and articles online. 

It seems to be a almost perfect replacement. It will never melts, I can style it as a long as I want. although it is placed under the hot sun, it just wont melts. I can slowly compose and recompose anytime I want. There is only one thing to care about. The color will change after it exposed to the air for some time, but that is after an hour or more. 

Behind the scene

Behind the scene, mixing up the meshed potatoes with color. We used 3 potatoes to make four scopes of "ice-creams". Total three colors, orange, yellow and green. One color each for the first three scoop, and a mixture of all three colors for the last scoop. TADA!! LIME, ORANGE & CORN flavor ice-cream!!!

Before Topping

Here comes the "ice-creams"!!! This is a test shot with only the camera and "ice-cream". To make it looks more real, chocolate topping were added.

All the photos were shoot outdoor. (Not a problem at all, as it wont melts)

Camera : D40x (I miss my very first DSLR~)
Lens:  Nikon kit lens, 18-105mm f3.5-5.6.
Others: Again, my favorite equipment, A4 papers as background and a piece of aluminium as a reflector. Last and not least, a very cute bowl for the "ice-creams".

Here are the final results of the "Ice-creams".


close up again


Hawaii style


In line?


45 degrees


Japanese style?

Whats your flavor?Top View


45 degrees with back groud

I just love this~


Close UP


It does't look perfect but I'm quite happy with it as a first attempt. The progress if this experiment is very fun, and I've learn that, it is actually very good to shoot outdoor. Using the natural light, controlling it with reflector. In the future, I will add in diffuser for my shoot.

The largest problem I'm facing is how to style the "ice-cream" to make it more real. My crafting skills on the "ice-cream" is just not good enough. Second, the potatoes is just look too hard. Looks like I need to figure out how to make the potatoes melts in order to fake the faked ice-cream to look more real. Haihz.. complicated. I replaced the ice-cream with potatoes because it doesn't melts, in the same time, I want it to melt a little to looks real. Looks like, the best way is still shoot with a real ice-cream.

Before ending, I want to say thanks to my dear who is helping me all the way long and giving creative composition for the shots. Well actually some of the photos was taken by her!

Anyway, do leave a comments or suggestion. C & C are all welcome.

Thanks for reading.

Cheers,

Ting Jieh

Monday, 18 July 2011

The Queen of Fruits - Mangosteen!

Last weekend, I don't know from which part of my brain came out of this idea. Getting myself for a Mangosteen Photography session. There is one thing I must admit is... THIS FRUIT IS HARD TO SHOOT!

The skin colour of the Mangosteen is very dark in colour but the fruit itself is in white colour. It is not easy to have the light control on this fruit. You can easily have the fruit overexposed or underexposed due to the high contrast of the skin and the fruit.

And the other issue is the fruit itself is not nice. It is not as good looking as a strawberry. MUAHAHAHAHA. Forget that, just a joke. The second issue I want to bring out is, the colour of the fruit will change very fast. It will become yellowish very quickly. Just in a minute or two, you will start seeing the colour change.

This time, I have news papers as the background. Using natural light coming from the left side. After a couple oh shoots, I feel that the lights are not strong enough due to the cloudy day. My A4 paper reflector is just not enough for this situation. The light source is low, and the object very dark. So I intended to add in another light source from a Sunlight temperature light bulb to play around.

With the light bulb behind the A4 paper, playing with silhouette.

Back Light Mangosteen


 THE QUEEN OF FRUITS! Shot with D90 + 50mm F1.8


Queen of Fruit~

Another shot with my D90 + 50mm f1.8 with natural light only. In this photo, we can hardly see the reflected light. Not very satisfy with this series. Have to do more research and learn how to shoot a better photo in this kind of situation. High contrast object and low light condition. There is another thing I had to admit is the composition. I need to do more homework on that as well as the light control. Do suggest me if you have a better idea. 

Cheers,
Lu Ting Jieh
Sunday, 10 July 2011

Shooting fruits and water splash

This weekend, I'm trying to shoot something that I always wanted to try on it, which is the water splash. It seems to be easy, but it is not that easy to shoot when I try it myself.

As you can see from the first photo. I shoot this with my D90 + 70-200mm f2.8 VR1. An old and small fish tank, which I don't think the size is sufficient, but the thing is, it is FREE! My manager gave me that. Then you can see, I have two external flash at both side, triggered by the build in transmitter. Two A4 boxes, a stool, a drawer and a pail to support both flashes and the fish tank. And a mahjong paper as backdrop. Not a very complete setup, but these are what I have, in order to complete this shoot.

Set Up

Do bare in mind, you need a few dry cloth to stand by. If there is any splash on your equipment, you can clean it off instantly. In the same time, you need a cloth to clean up the water drops on the fish tank every time before you take a shoot.

Here, I'm shooting at settings below:

Focal Length :70mm,
ISO 100,
Shutter Speed :1/200sec,
Aperture: f10.
Flash power: 1/2

I also used 1 piece of tissue placed on the right side of the fish tank to diffuse the flash. It really works for me. Huge different with tissue and without tissue. Reason that I'm using the internal flash trigger, the pop up flash is required to trigger the slave flash. So I bought one accessory, so call the "flash trigger". It is actually a pyramid shape constructed with mirrors with the pyramid head facing the pop up flash. So when the flash fires, the light does not travel directly to the object, but split to the top, side and bottom. With this, I can trigger my slave flash with the pop up flash without any lights hitting the fish tank directly.

After a couple of shoots, these are what I've got.

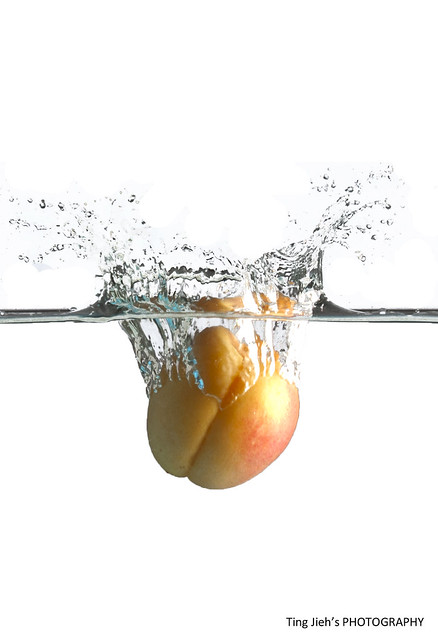
Single peach on the water


A single peach and the splash!

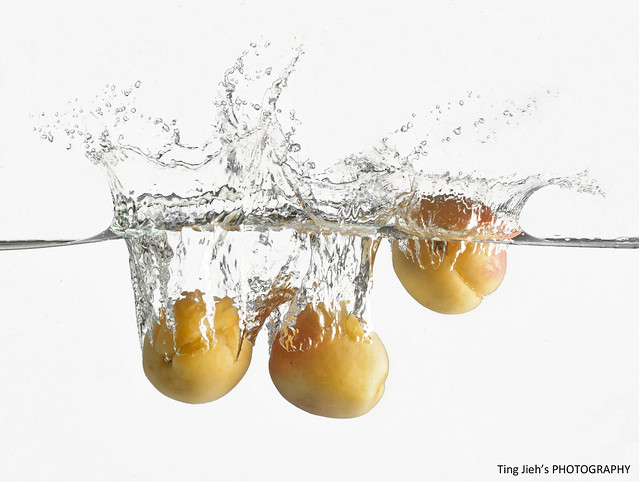
Triple peach on the water!


Triple peach in action!

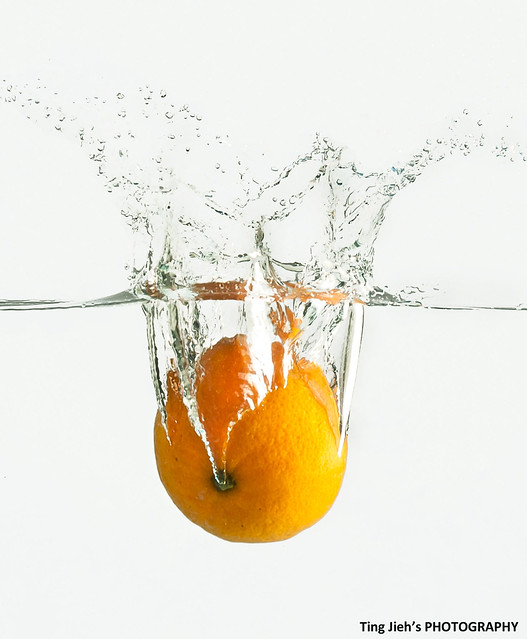
Orange and splash


Orange and the splash!

If you look closely at the photos, you can actually see that the lighting on the right side is much stronger than the left side. I guess the battery in the left side flash is running low.

With no doubt, I touched up the photos with Photoshop after shooting. My post processing skills are not that good, I guess people can easily see the mistake. But do make a comments or suggestion on that. No hard feelings.

Photos are not perfect, so I must have a re-shoot for the second round with a much complete equipment for setup. Basically, I personally feel that, a minimum of 3 external flashes are required for the shoot. Two on both side, same height as the water level, and one at the back to flash the backdrop. As I mentioned earlier, a larger fish tank is required.

Anyway, C & C are welcome from anyone. I'll gear up and learn more on lighting control and make the second shoot. Perhaps, I'll try more things like colored gel, different color background or different fruits/object.

=]

Cheers,
Lu Ting Jieh